Deploying Your Application to Production
Estimated time to read: 3 minutes
You've built a complete full-stack application with authentication, a database, file storage, and a React frontend. Now let's deploy it to production so anyone can access it on the internet.
What is Production Deployment?
So far, you've been working in a "sandbox" environment (a safe space for development and testing). Production deployment means making your app available to real users on the internet with a public URL. AWS Amplify makes this process straightforward by connecting to your GitHub repository and automatically building and deploying your app whenever you push code changes.
Preparing for Production
Before deploying, let's make sure your code is ready and pushed to GitHub.
1. Commit your changes to Git
First, add all your files to Git:
git add .
git commit -m "feat: complete workshop"
2. Push to GitHub
git push origin main
3. Verify your repository
Go to your GitHub repository in your browser and confirm all your code is there, including:
- Your React app in the
src/folder - Your Amplify backend in the
amplify/folder
Setting Up Amplify Hosting
What is Amplify Hosting?
Amplify Hosting is AWS's service for deploying web applications. It automatically builds your React app, deploys it to a global content delivery network (CDN), and gives you a public URL. It also sets up continuous deployment - whenever you push changes to GitHub, Amplify automatically rebuilds and redeploys your app.
Steps to Deploy
-
Go to the AWS Amplify Console
Open the Amplify Console.
-
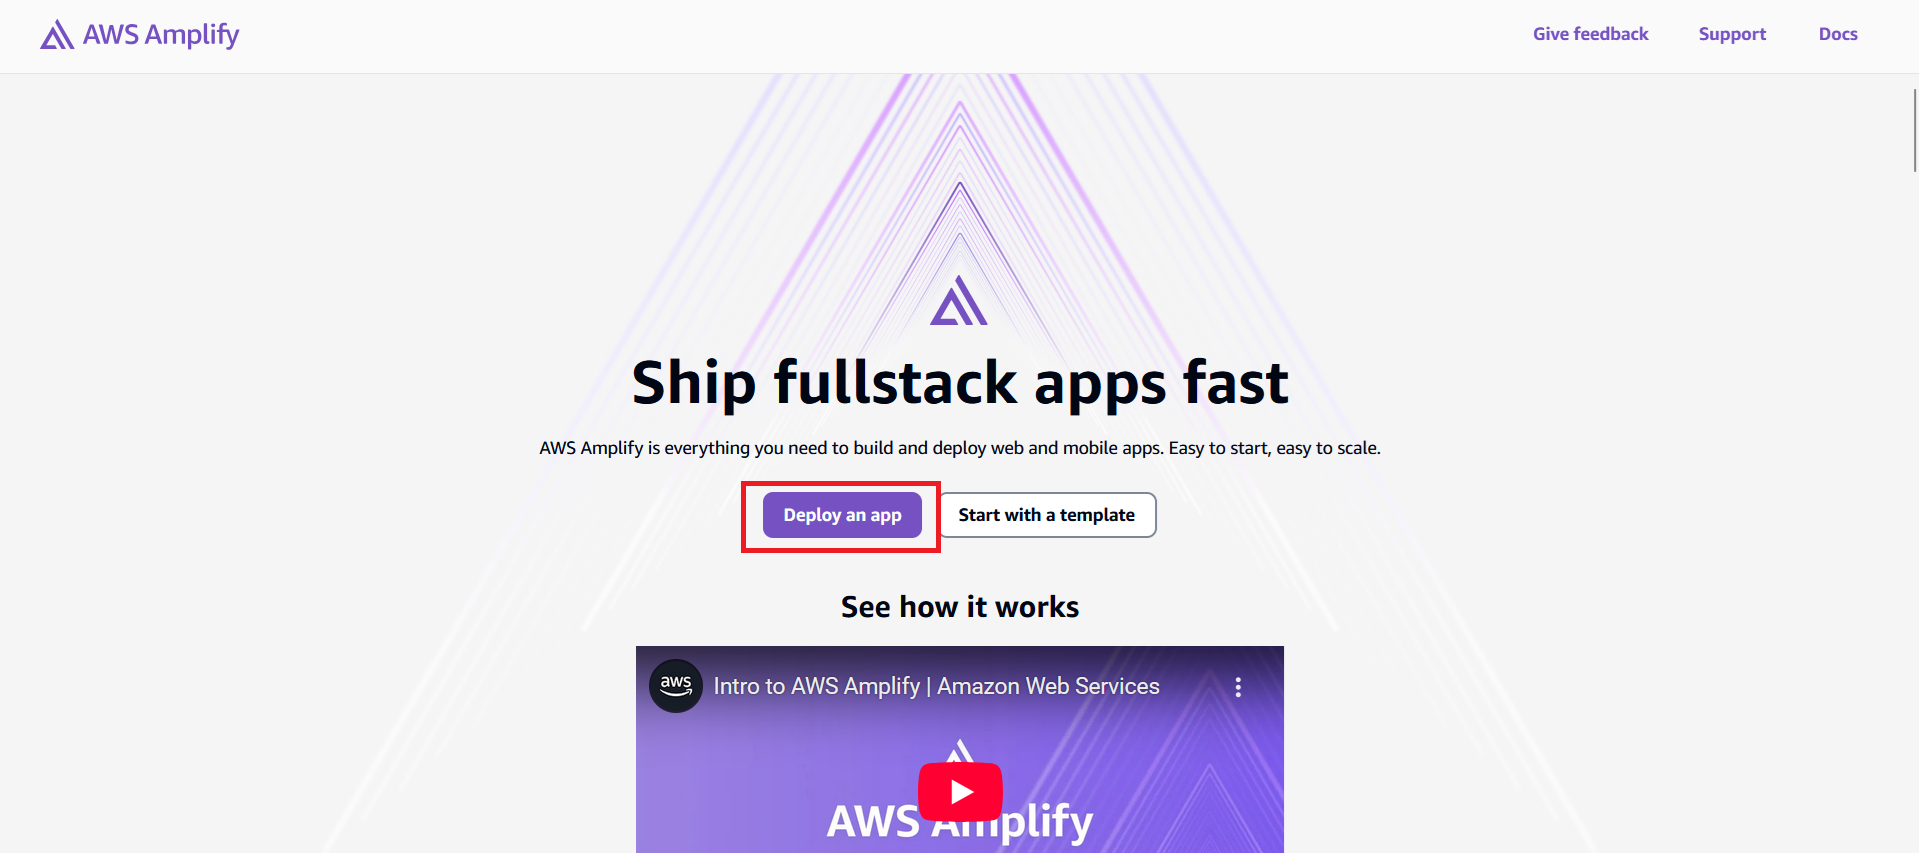
Click "Create App" or "Deploy an App"
You'll find this option on the homepage of the Amplify dashboard.
-
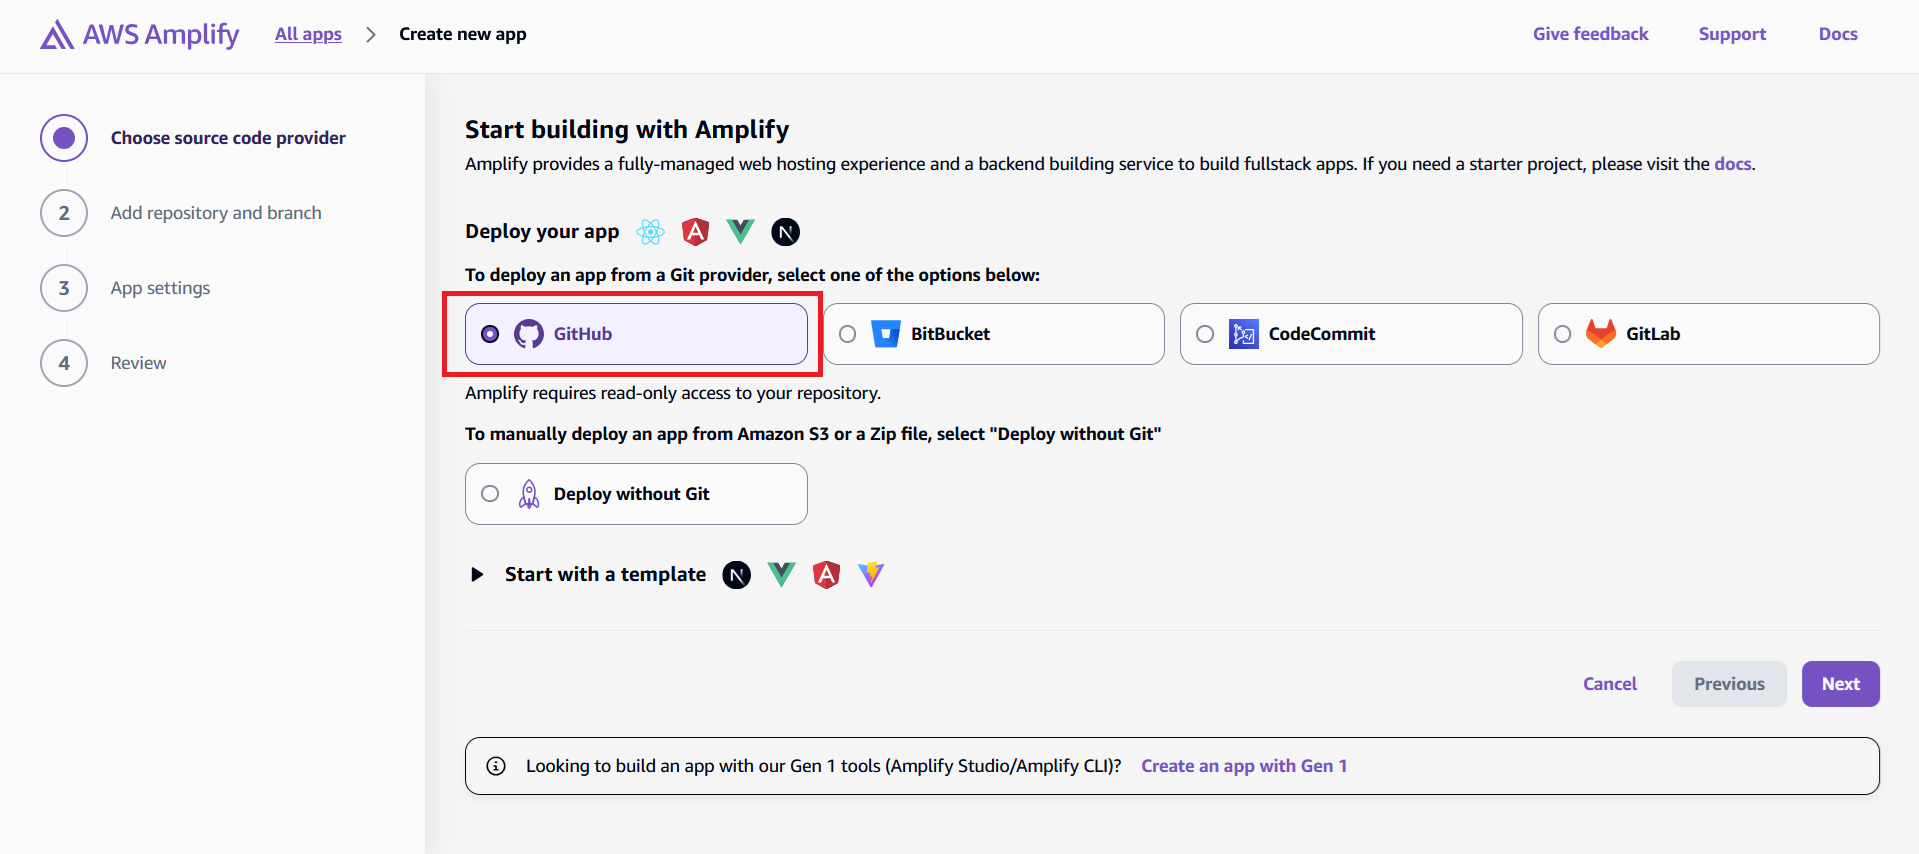
Select GitHub as your Git provider
Amplify supports GitHub, GitLab, Bitbucket, and CodeCommit.
-
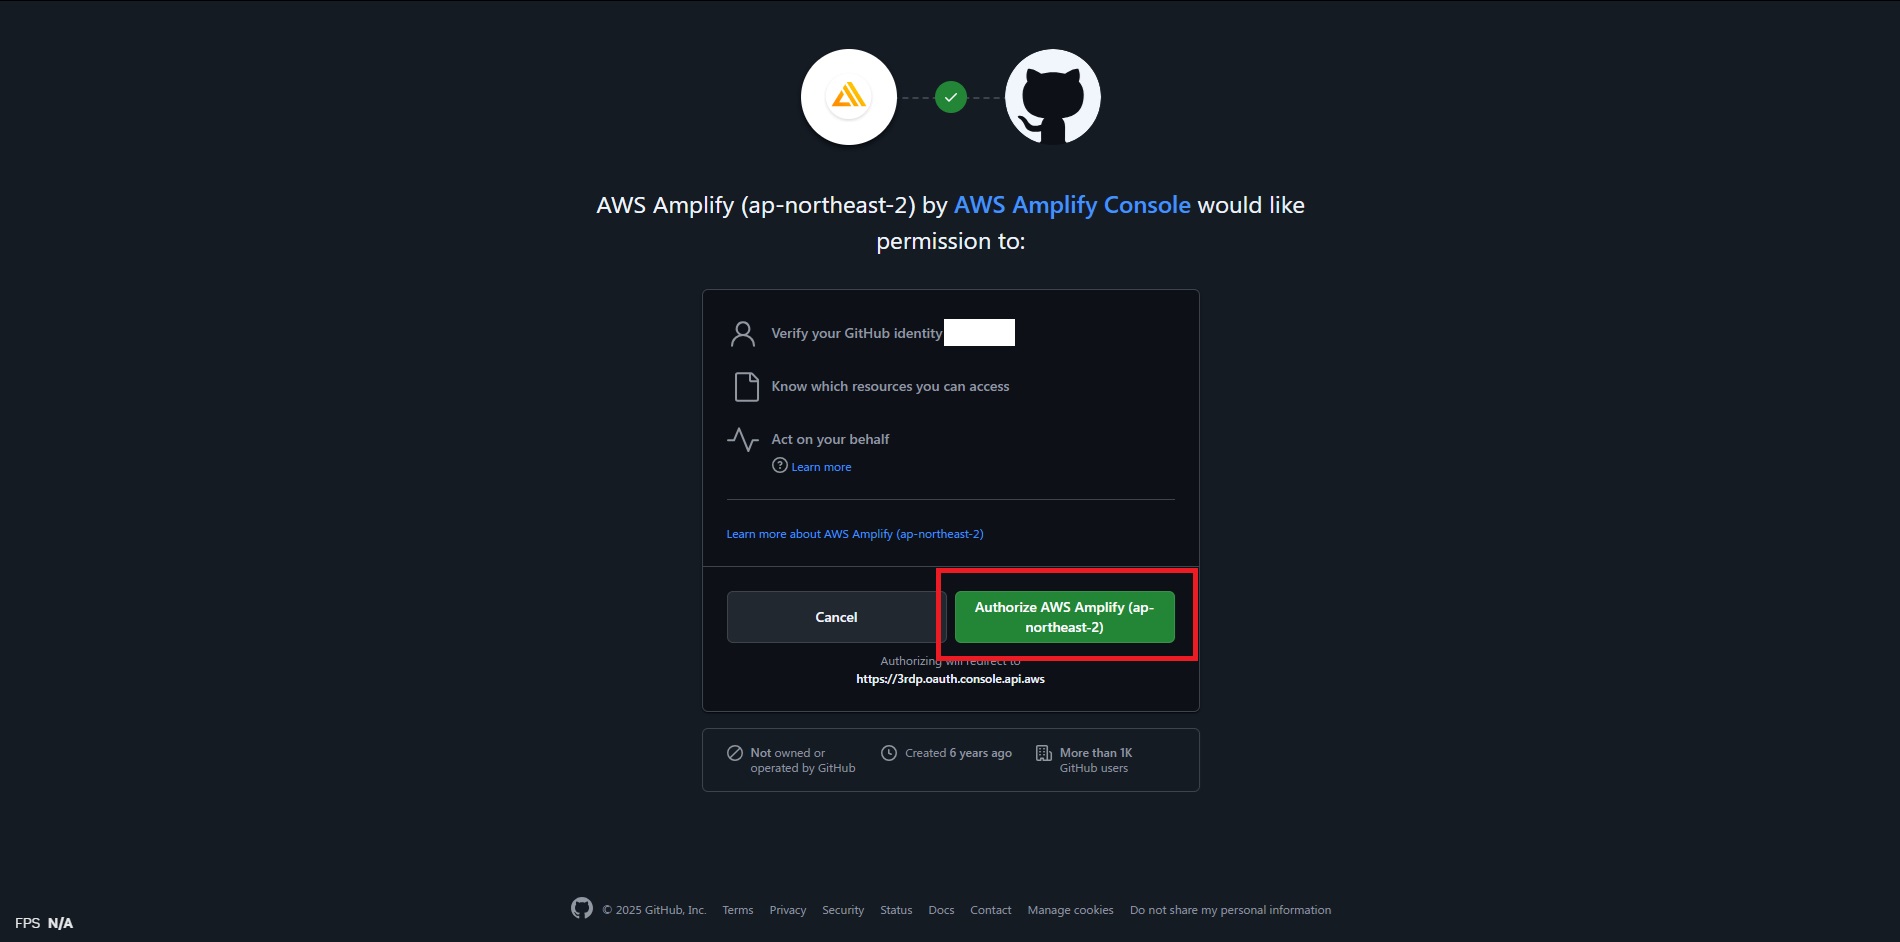
Click Next and Authorize Amplify to access your GitHub account
This is a one-time GitHub App authorization.
-
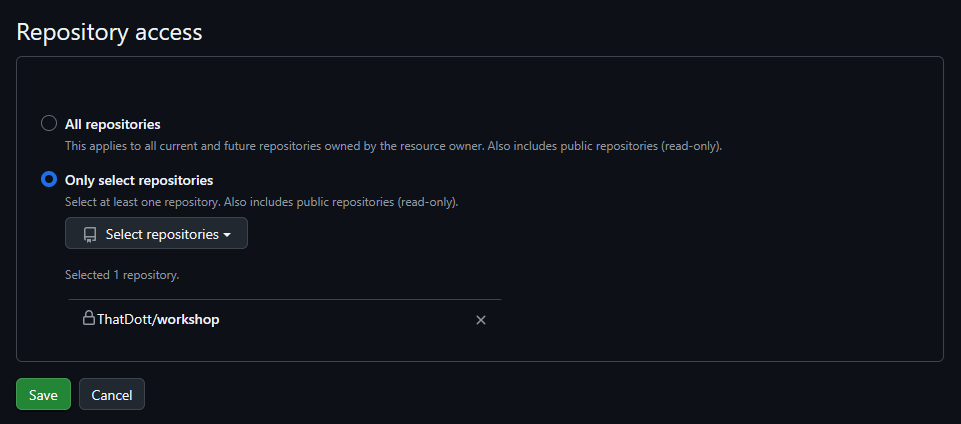
Update Github permission if your repository is not found
Choose the repository to give Amplify access.
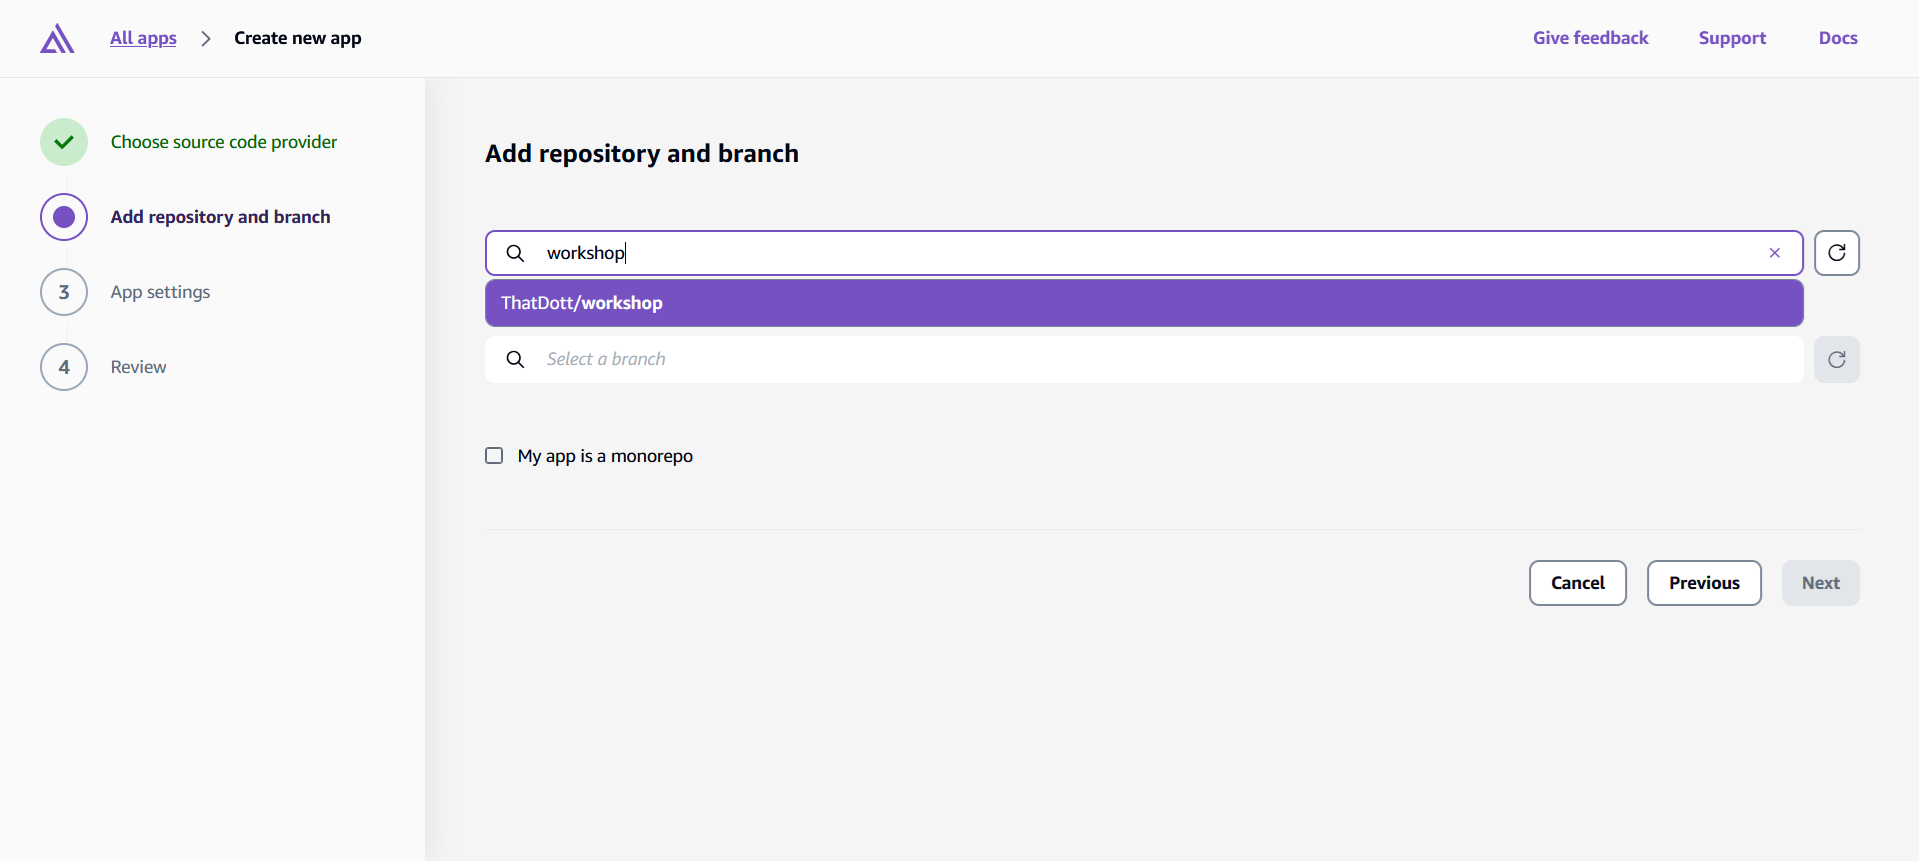
-
Select your repository
Back to Amplify console, select the repo containing your React app from the list.
-
Choose the branch to deploy
Usually
main, depending on your project.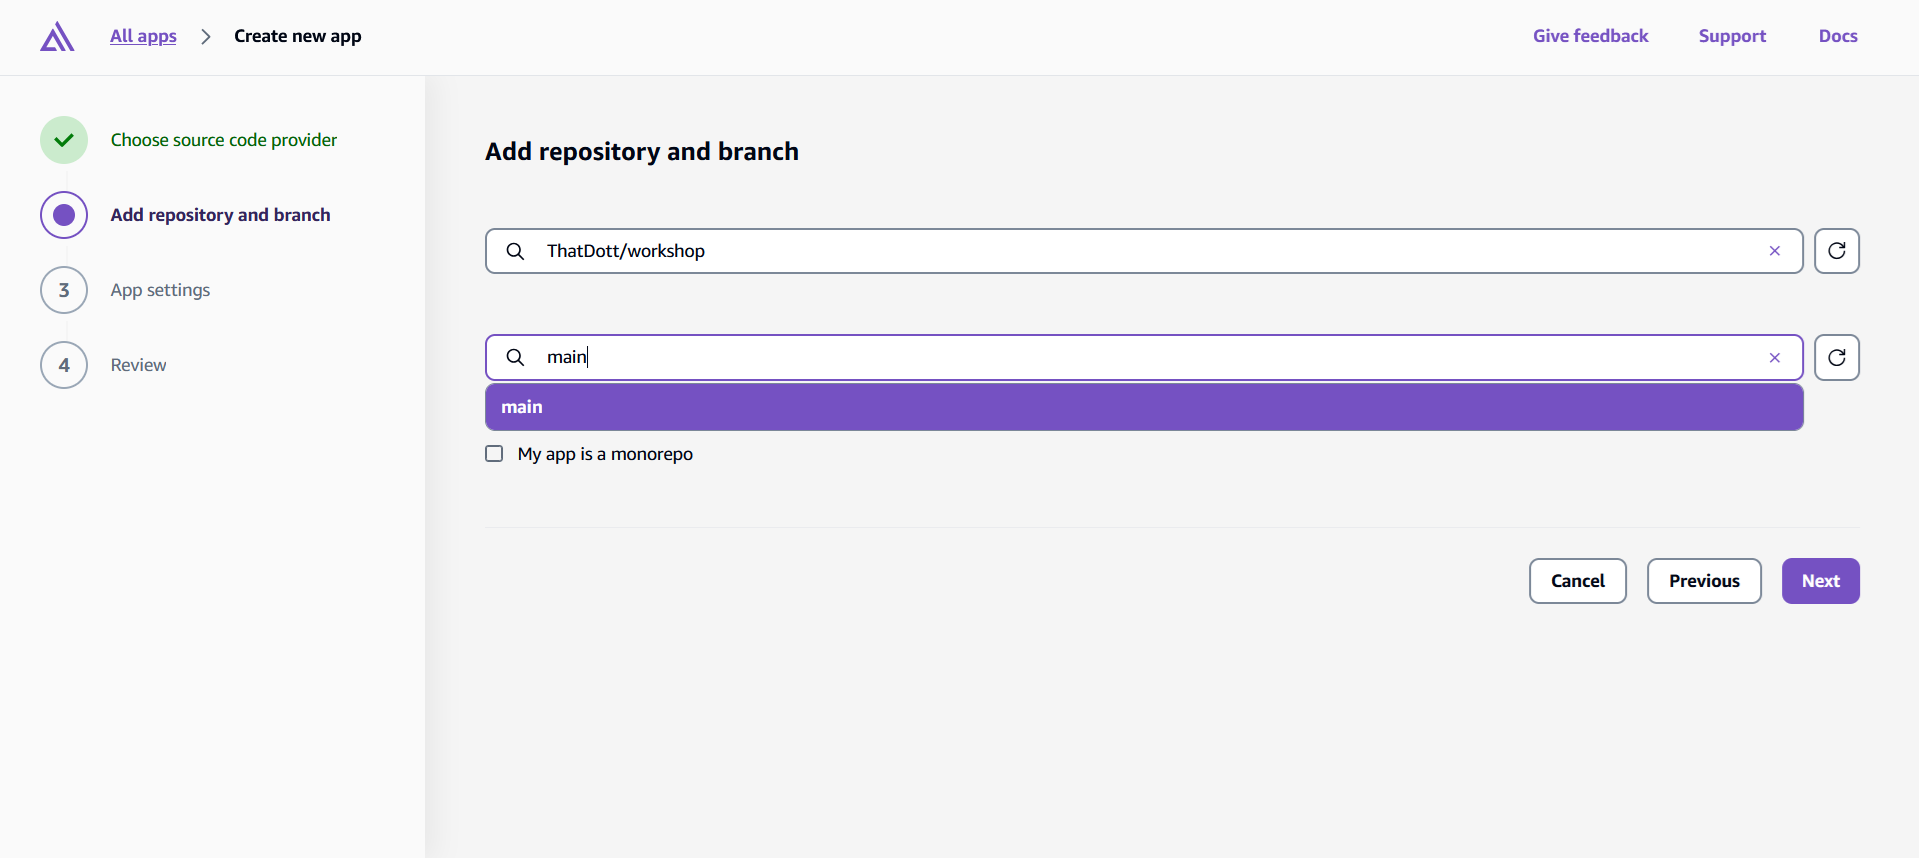
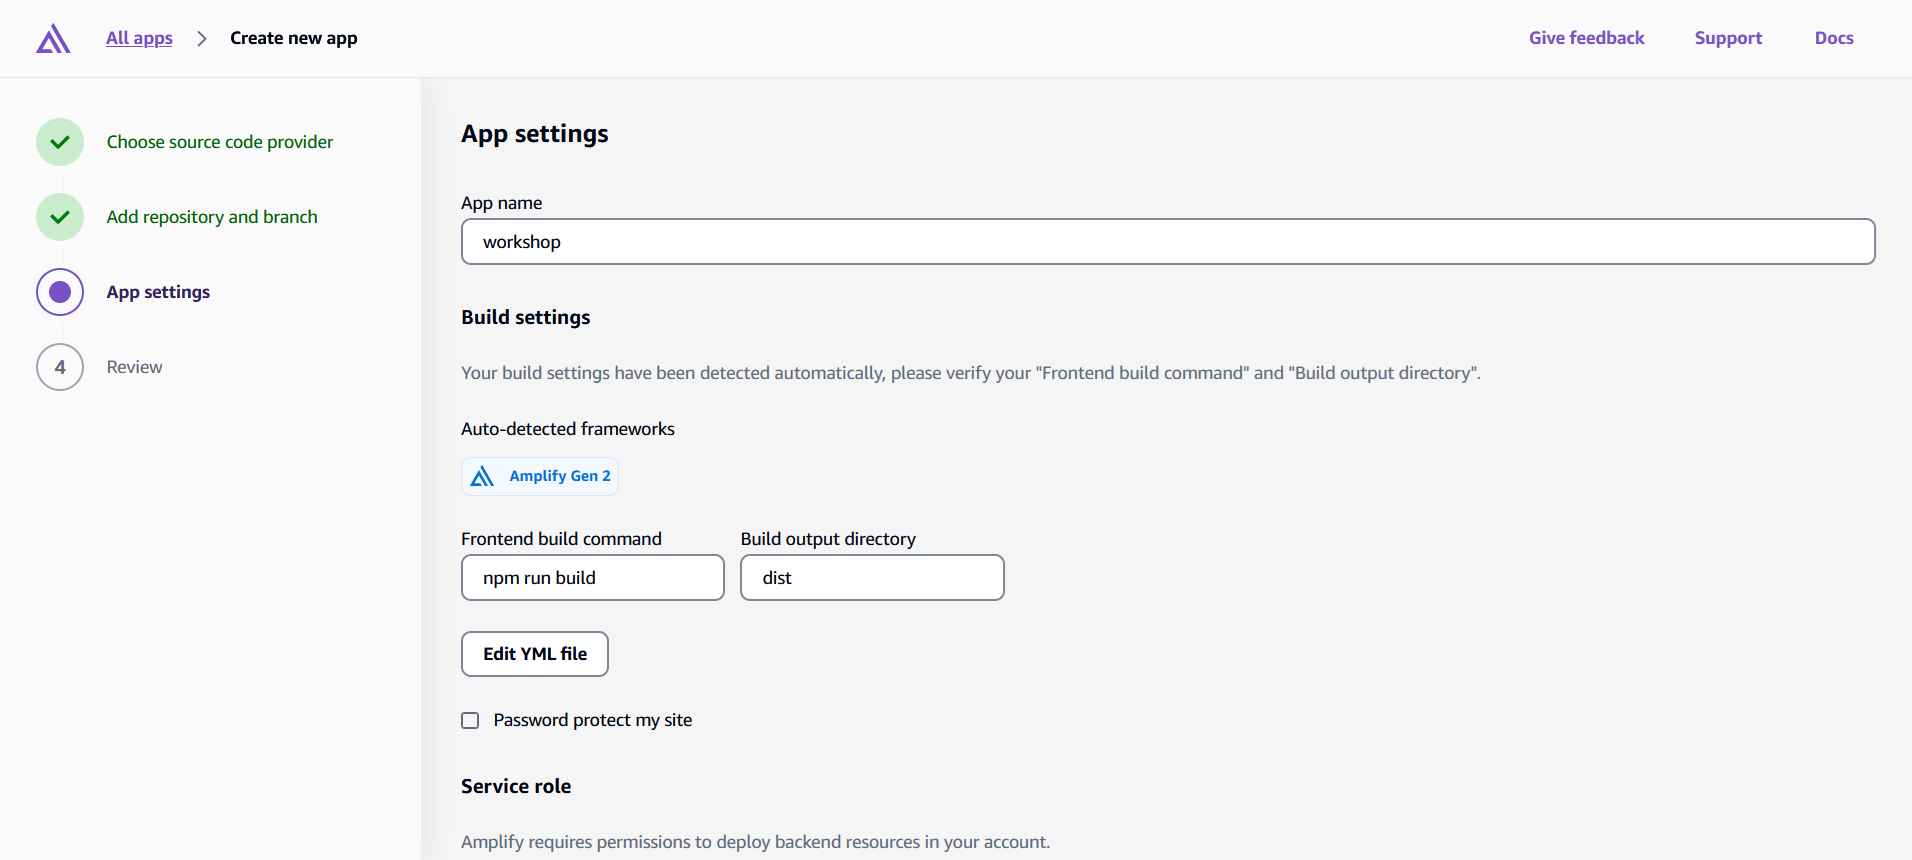
-
(Optional) Configure app settings
You can customize build settings, but Amplify automatically adjusts this according to your app, so you may just click Next to continue.
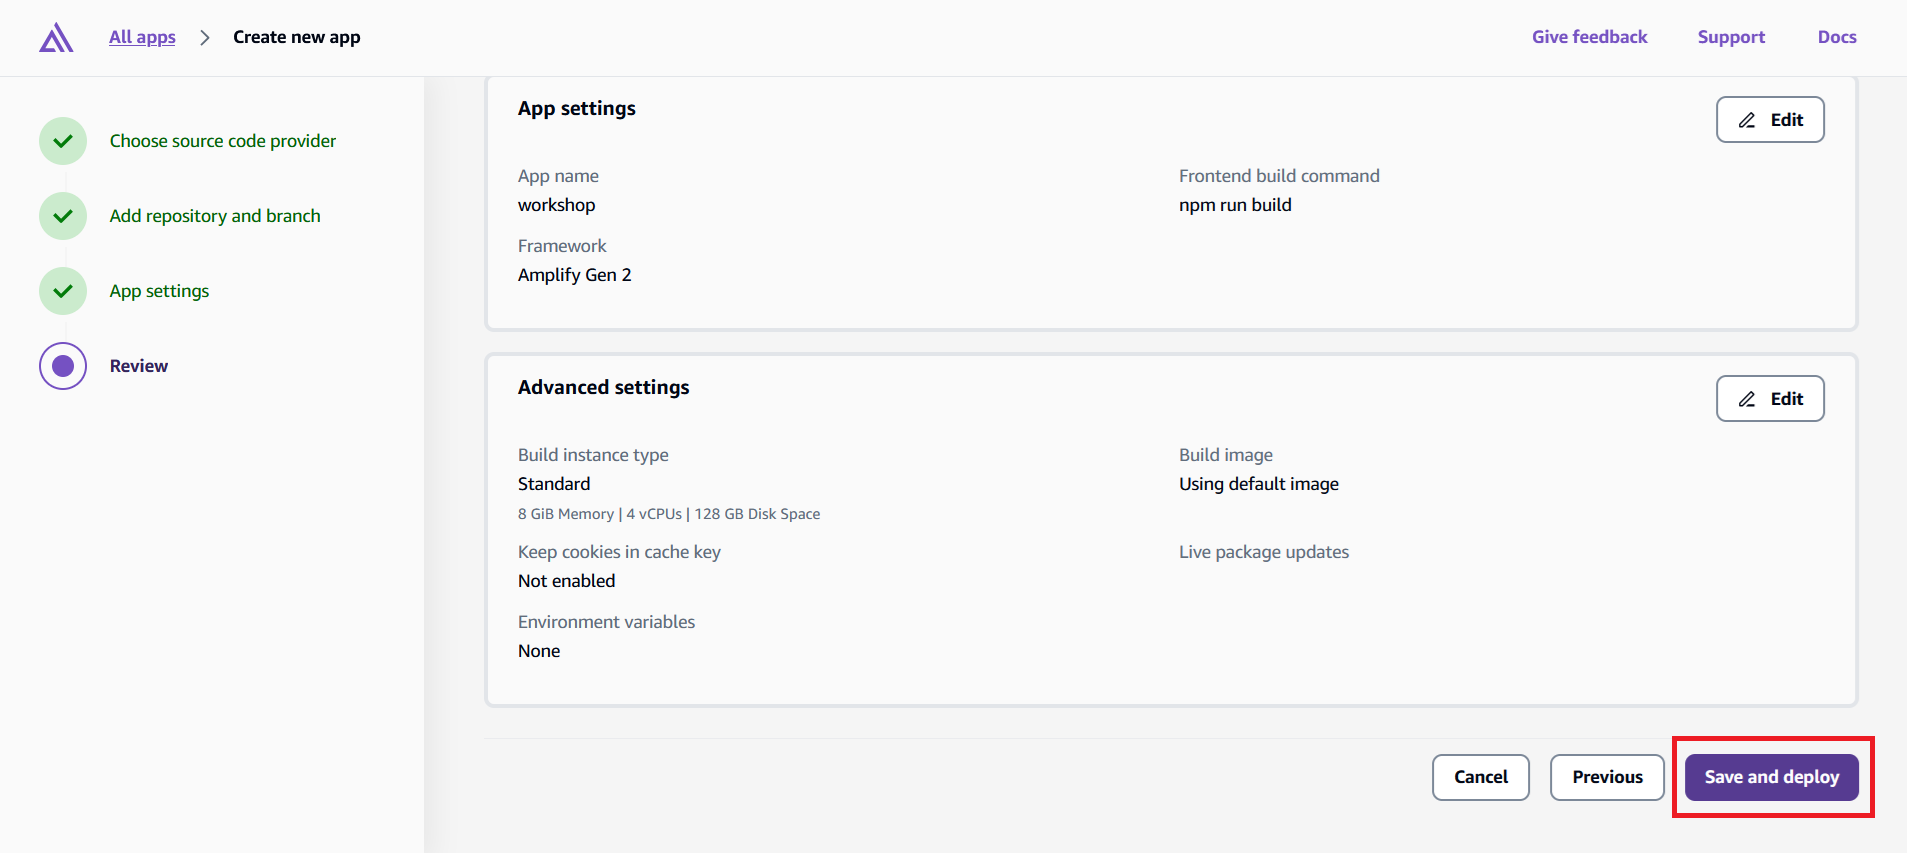
-
Review settings and click "Save and Deploy"
You may review your settings and start deploying.
-
Wait for the build to complete
After a few minutes, your app will be live on an Amplify-hosted URL.
-
View your Deployed App
Click on "Visit Deployed URL" to visit your deployed app.
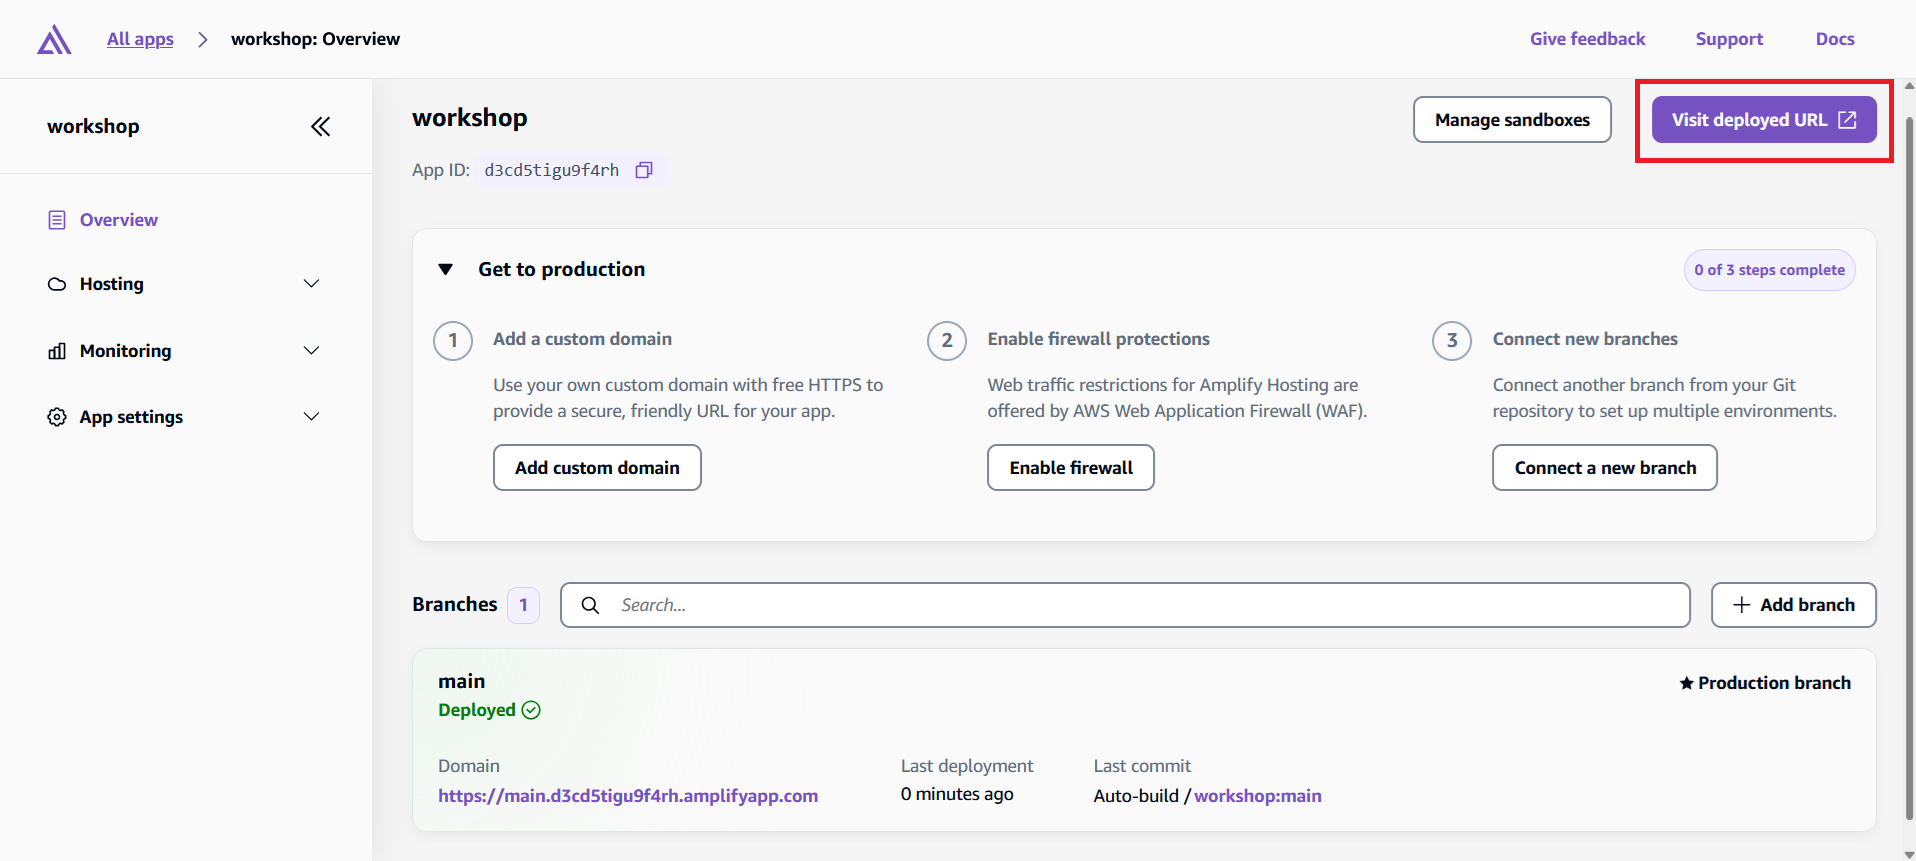
 Congrats, you've successfully deployed your app on Amplify!
Understanding the Deployment Process
Watch the deployment progress in the Amplify Console. Here's what happens during deployment:
Provision - Amplify sets up the hosting infrastructure
Build - Downloads your code from GitHub and runs npm run build
Deploy - Uploads your built application to the CDN
Verify - Runs tests to ensure everything deployed correctly
The entire process usually takes 3-5 minutes. You'll see real-time logs showing the build progress.
Connecting Backend to Frontend
Amplify generates a new amplify_outputs.json for our production environment. It automatically connects your frontend to your production backend. This means you have a separate stack of resources for your production deployment where you can view in AWS CloudFormation.
Testing Your Live Application
Once deployment completes, Amplify provides you with a public URL like https://main.d1234567890.amplifyapp.com.
Open that URL and test your application:
- Registration and login - Create a new account (use a real email address)
- Create posts - Add some blog posts with images
- Real-time updates - Open the app in multiple browser tabs and see changes sync instantly
- File uploads - Upload images and verify they display correctly
Your application is now live and ready for real users!