Creating Posts
Estimated time to read: 3 minutes
Now that we've configured our data backend, we can now implement CRUD operations. For this section, we will be implementing the Create operation for our app.
Navigate to components/Posts.tsx and do the following:
Step 1: Import Schema and Generate Client
At the top of your Posts.tsx place the code below:
// src/components/Posts.tsx
import type { Schema } from '../../amplify/data/resource'
import { generateClient } from 'aws-amplify/data'

const client = generateClient<Schema>()
What this does:
- A TypeScript schema is generated based on your backend configuration
generateClient<Schema>()creates a Amplify Data client with full type safety- The
clientprovides methods for all CRUD operations:create(),update(),delete(),list(), andobserveQuery() - Type safety ensures you can only access fields that exist in your schema
Step 2: Import user from useAuthenticator
This will be used to assign our userId to a post later.
// src/components/Posts.tsx

import { useAuthenticator } from '@aws-amplify/ui-react'

export default function Posts() {
  const { user } = useAuthenticator();
...
Step 3: Define the Create Function
// src/components/Posts.tsx

const createPost = async () => {
  const caption = window.prompt("Caption");
  if (!caption) return;   // stop if empty

  const newPost = await client.models.Post.create({
    caption,
    email: user.signInDetails?.loginId,
    userId: user.userId,
    date: new Date().toLocaleString(),
    imagePath: "",
  })
  console.log("Create Post Result: ", newPost)
};
What this does:
-
Prompts the user for a post caption using
window.prompt() -
client.models.Postrefers to your definedPostschema -
The
.create()method sends the new post data to your backend via AWS AppSync -
user.signInDetails?.loginIdgets the authenticated user's email user.userIdprovides the unique Cognito user identifier for post ownershipnew Date().toLocaleString()creates a human-readable timestampimagePathis set to empty string initially (will be used for image uploads later)
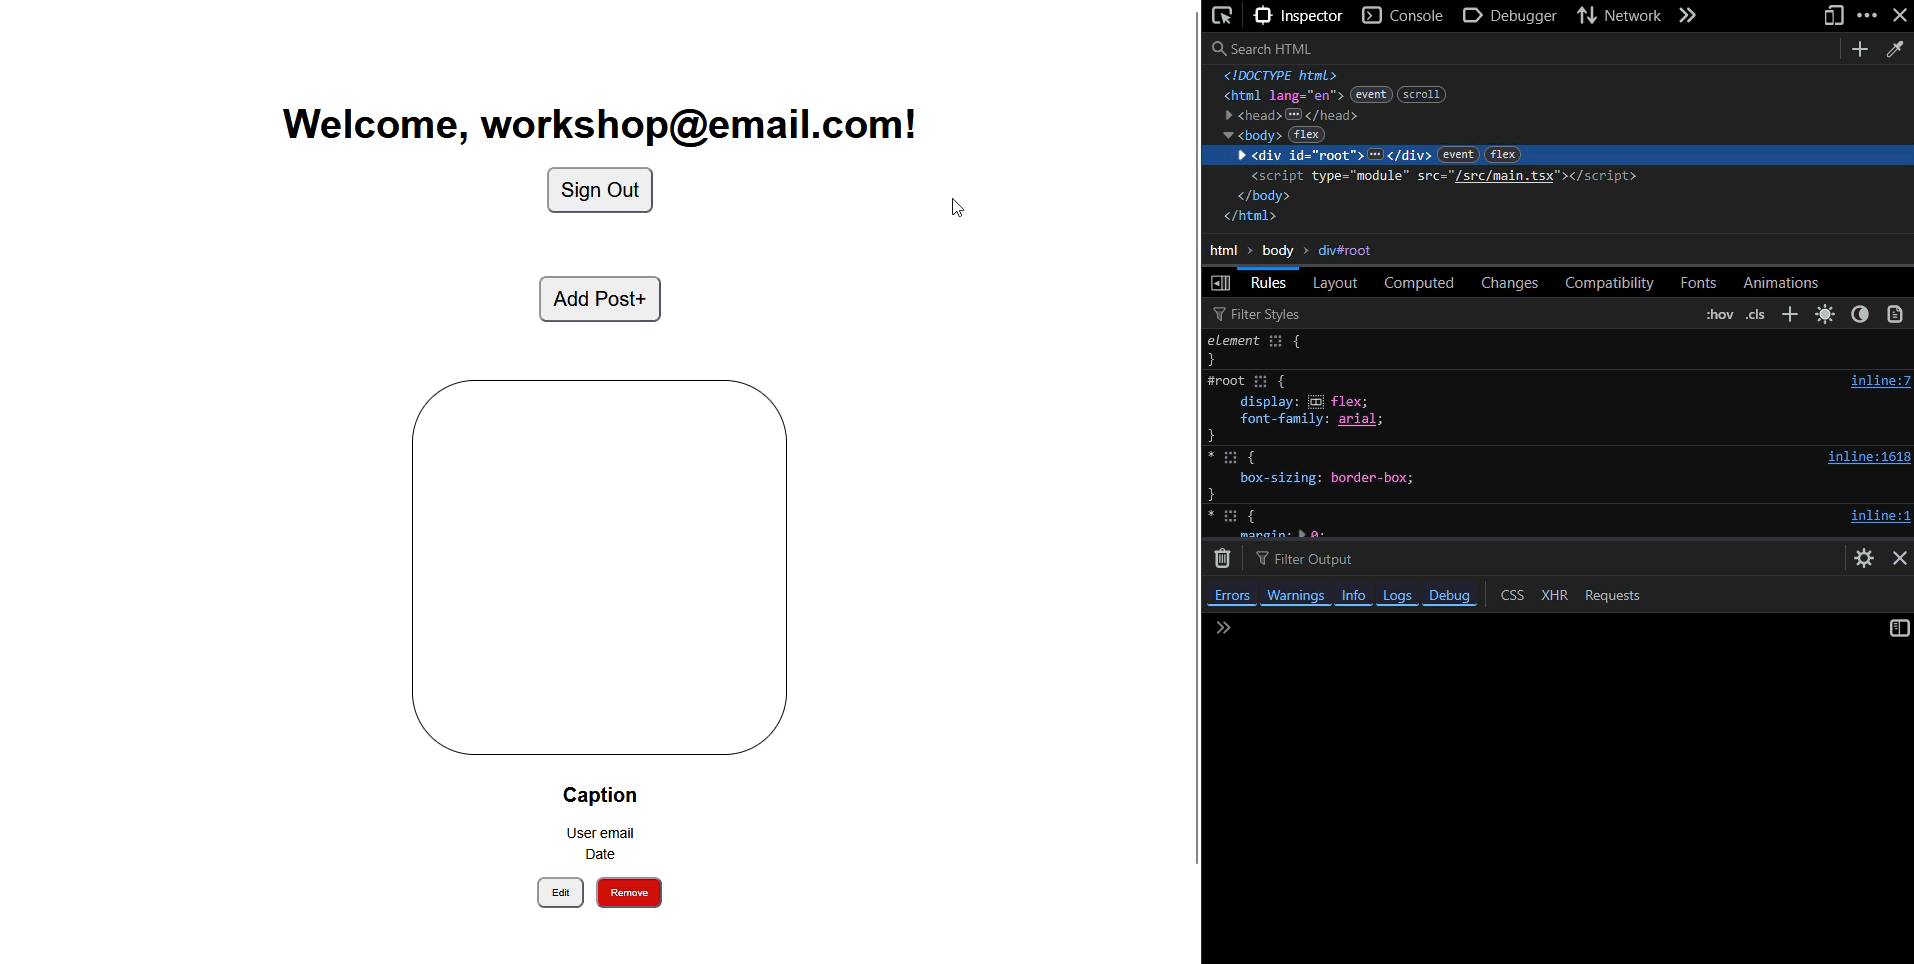
Step 4: Add the onClick function to the existing button to trigger the createPost function
// src/components/Posts.tsx

<button onClick={createPost}>Add Post+</button>
Step 5: Confirm if working
-
Try creating a post by clicking the
Add Post+button -
Check your network tab or console logs
- Oops! Error: you might see something like:
Error: Authentication error: Not authorized to perform this operation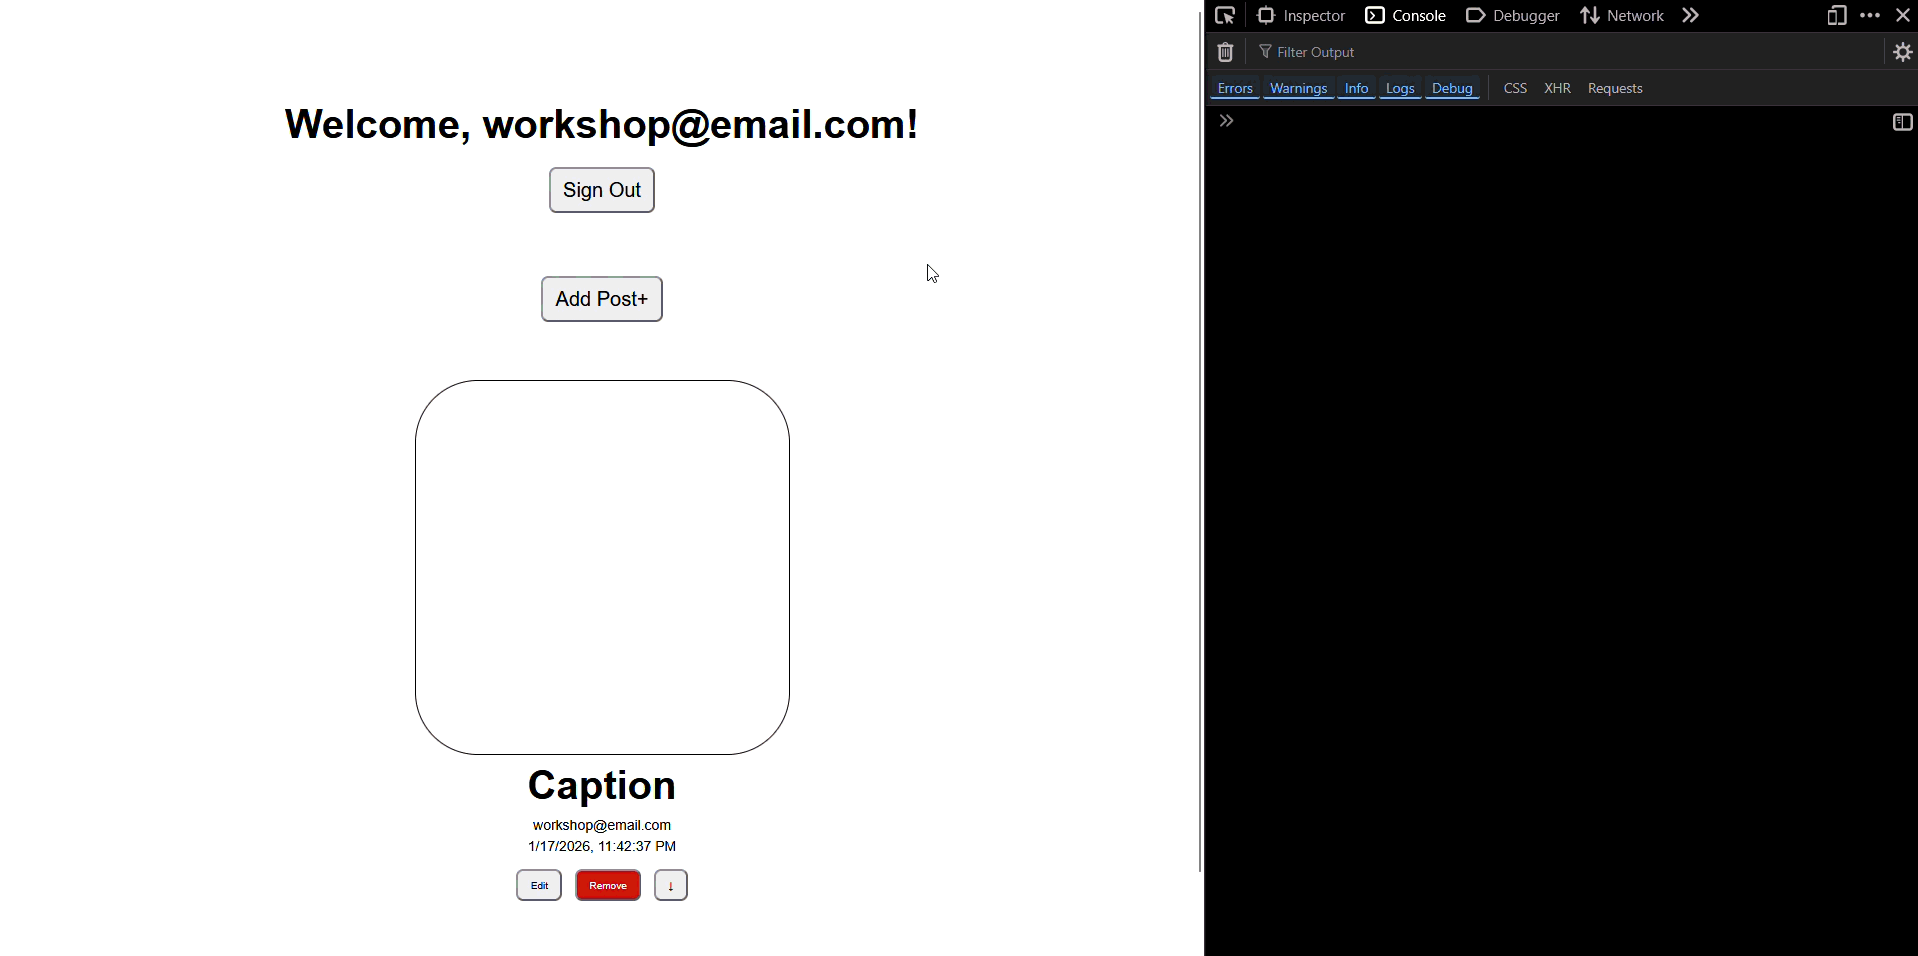
This indicates that we do not have authorization to create a post
-
Fix the error
- Open your
amplify/data/resource.ts. - Update your schema authorization rules to enable post creation, might as well add permissions for updating and deleting posts:
.authorization(allow => [
  allow.authenticated().to(['read']),
  allow.ownerDefinedIn("userId")
  .identityClaim('sub')
  .to(['create', 'update', 'delete']),
])
This tells Amplify that we're allowing the user to
createposts and onlyupdateanddeleteposts that he/she owns.Now that we updated our auth permissions, update your backend by running:
npx ampx sandboxDisregard this if you're running the sandbox already as it automatically detects changes to your backend configuration files in
amplify/ - Open your
-
Try creating a post again
Now the request should succeed:
Now, only the post owner can create, update, or delete their own posts, while all authenticated users can read posts.
Congrats, you can now create posts successfully! You can view it in the AWS Console.
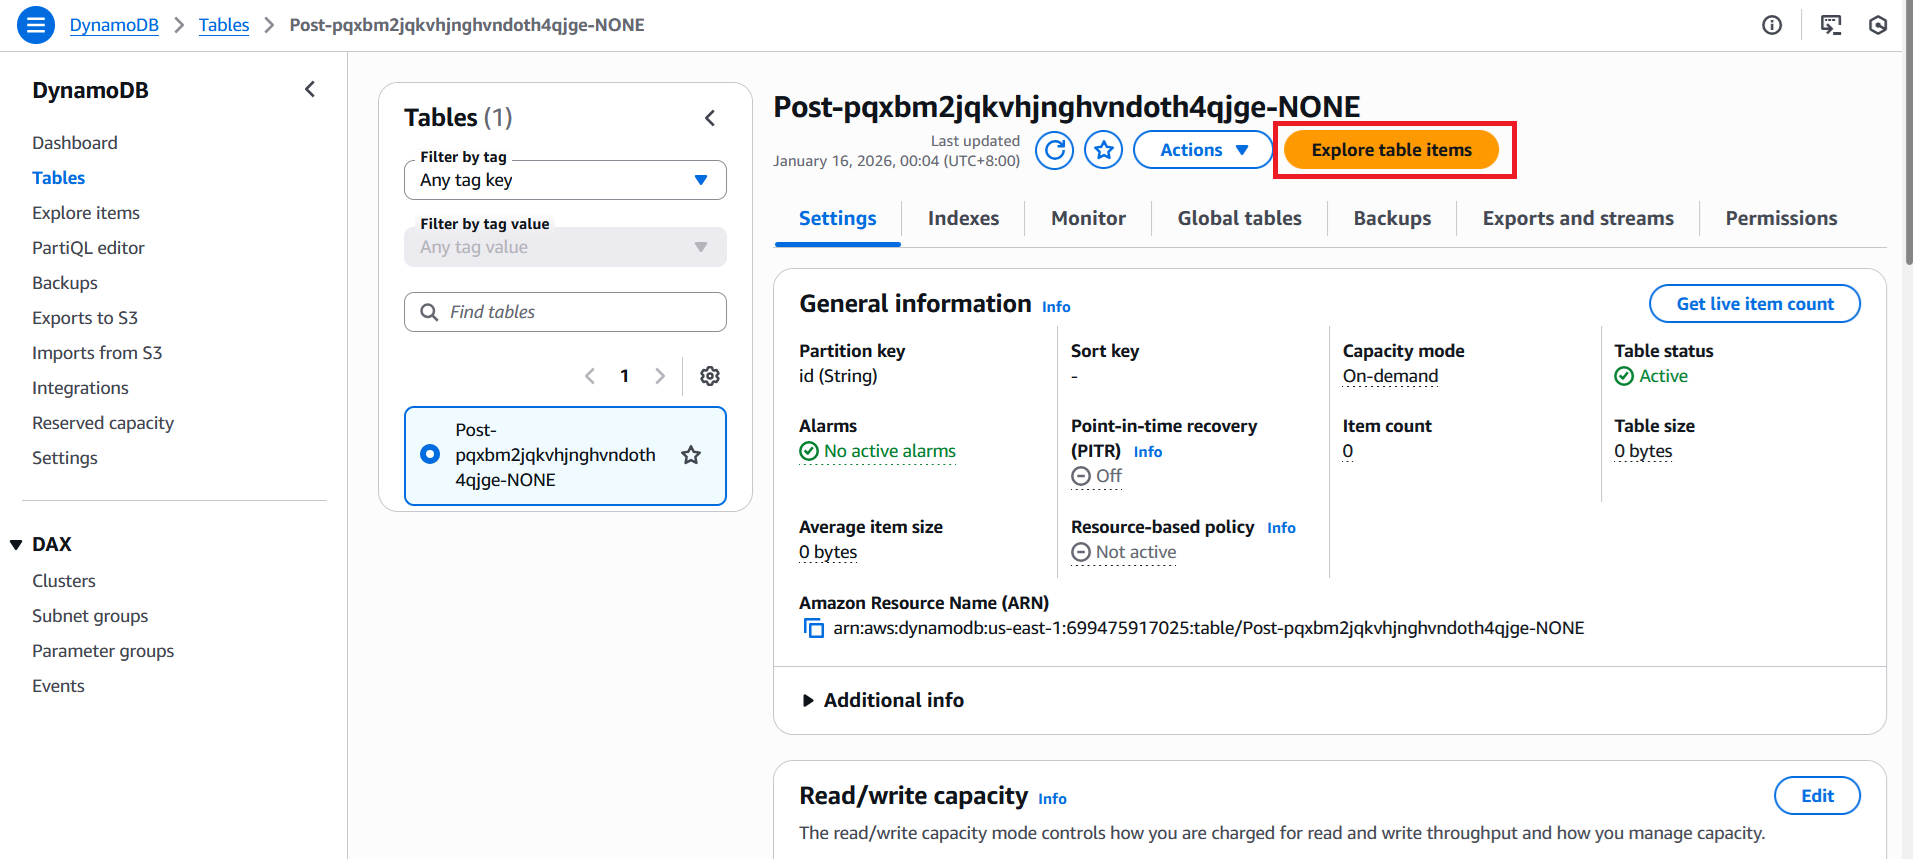
Preview Data in AWS Console
View Created Posts in DynamoDB
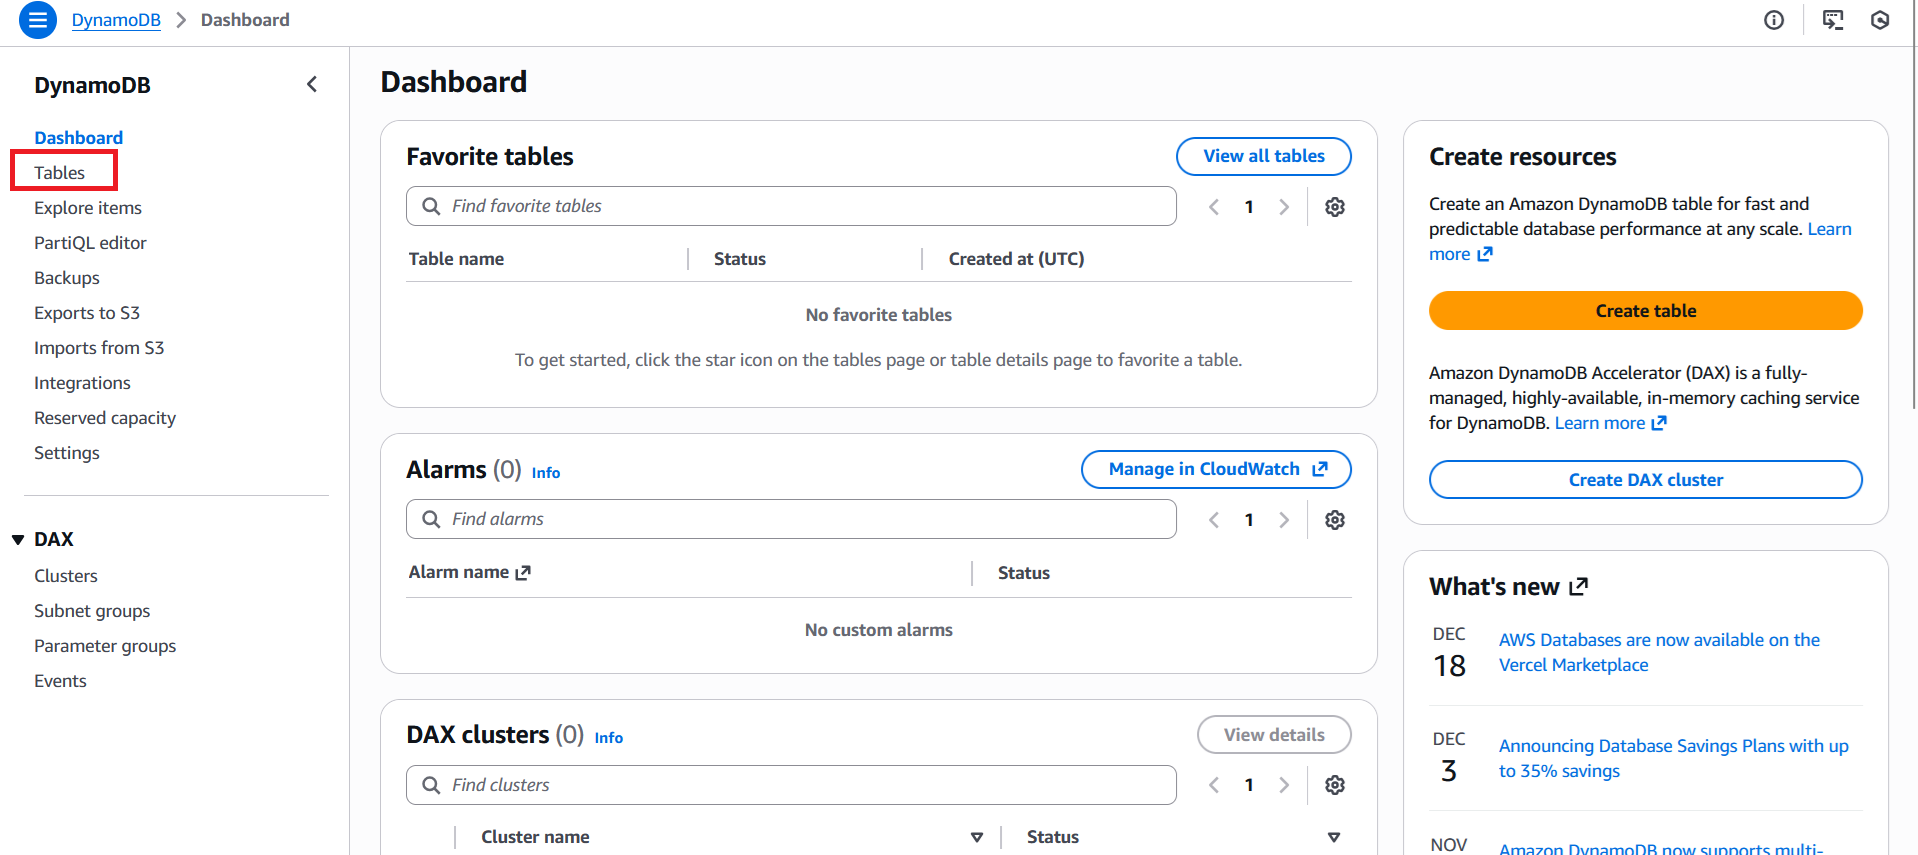
-
Open AWS Console: Navigate to AWS Console
-
Access DynamoDB:
- Search for "DynamoDB" in the services search bar
- Click on "DynamoDB" to open the service
-
Find Your Table:
-
Click "Tables" in the left sidebar
-
Look for a table with a name with this format
Post-[random-string]-[environment]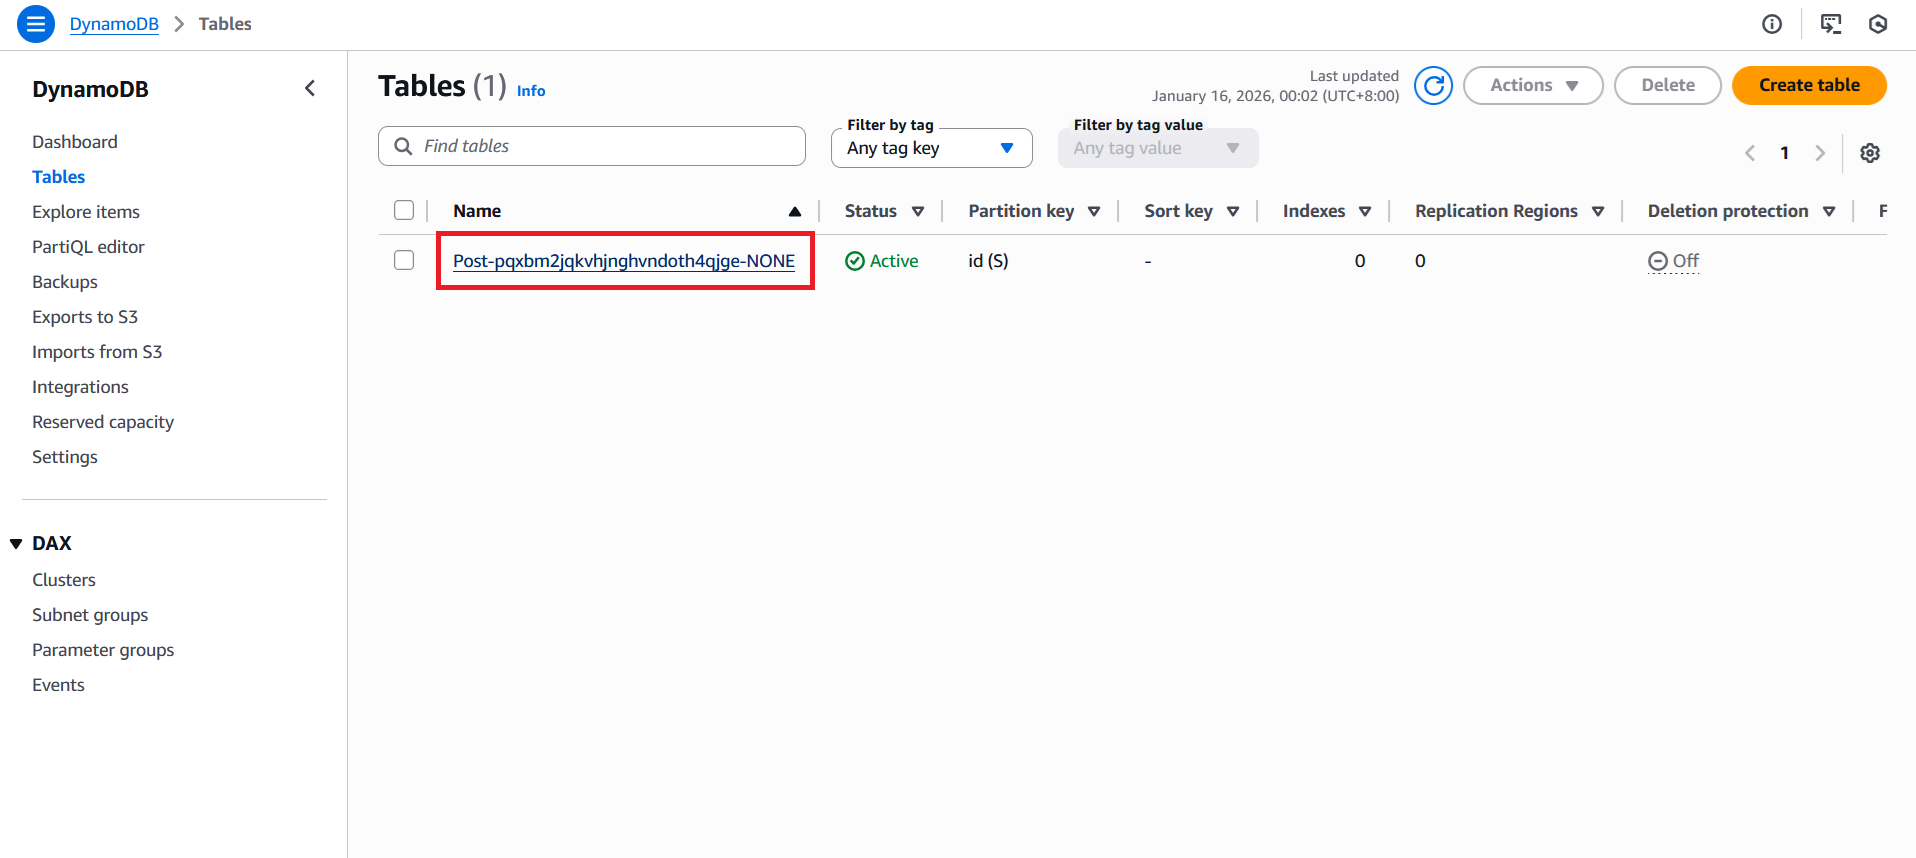
- This is your automatically generated Post table
-
-
View Table Items:
- Click on your Post table name
- Select the "Explore table items" button
-
You should see your created post with all the fields you defined
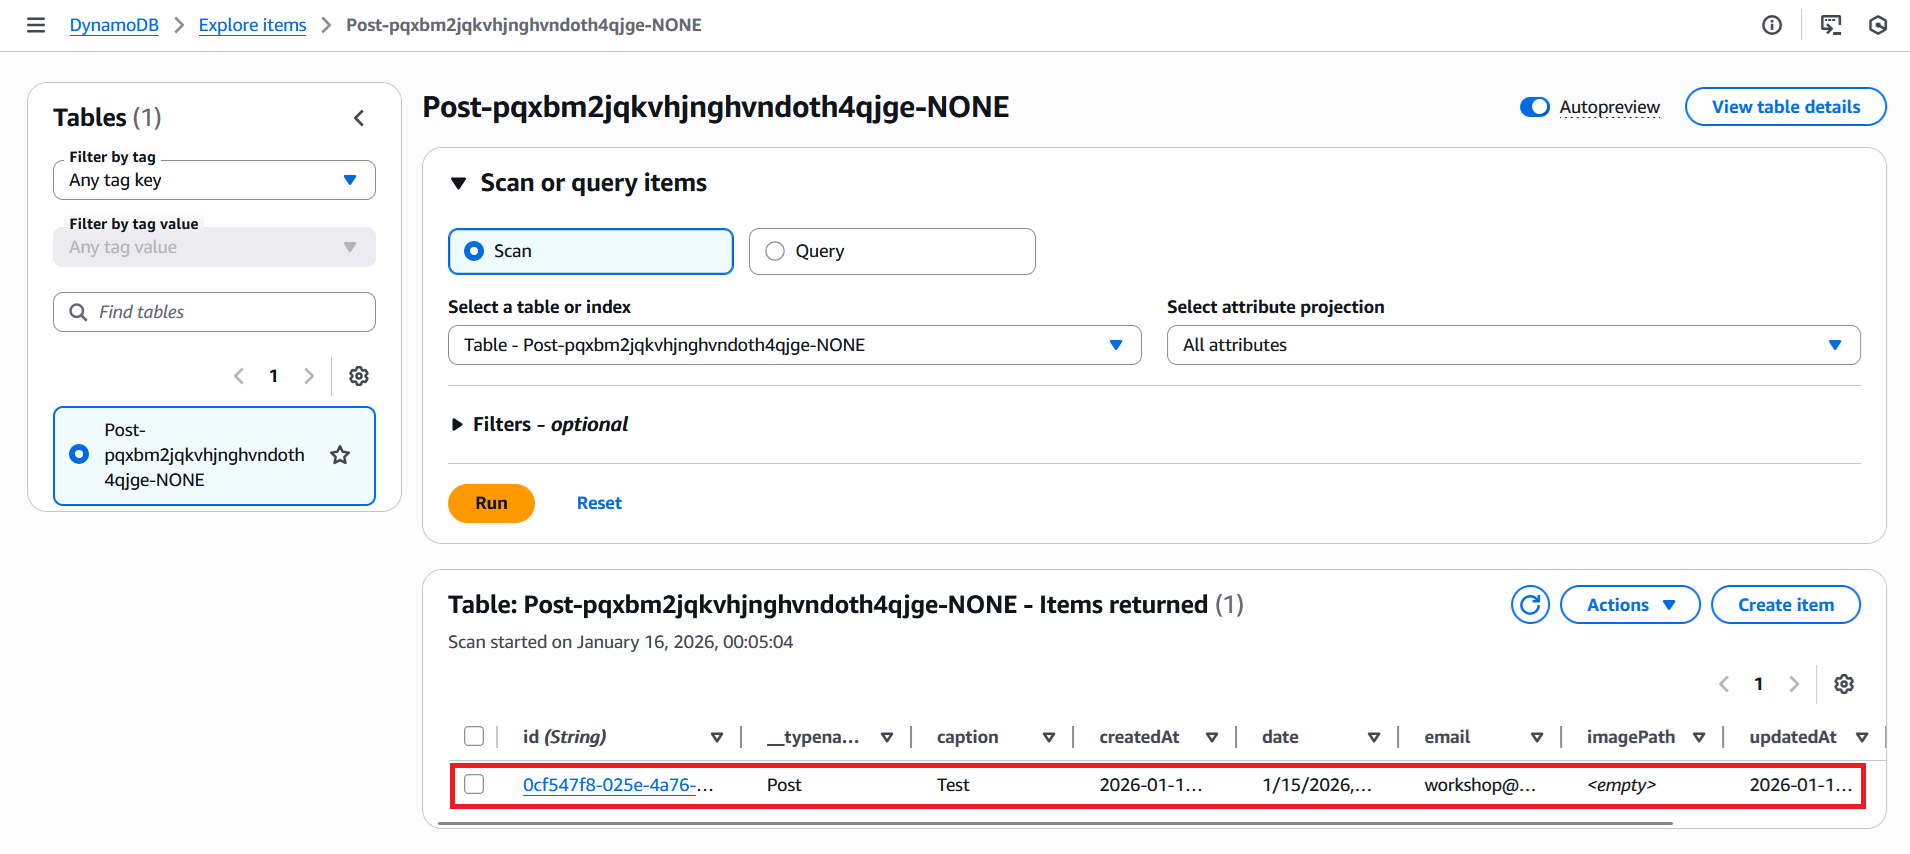
-
Each post will show:
id,caption,email,userId,date,imagePath - The
idfield is automatically generated by Amplify - Timestamps show when the post was created and last updated
userIdfield shows the Cognito Identity ID of the post owner