Creating Your Frontend Application
Estimated time to read: 2 minutes
Now let's get your frontend application set up, where we will be using React. Instead of starting from scratch, we've prepared a starter template that includes all the basic components you'll need for this workshop.

Getting the Starter Code
We've created a GitHub template with a pre-built React application that includes the basic structure for our workshop. This saves you time setting up boilerplate code and lets us focus on the Amplify integration.
[Image placeholder: GitHub template creation process]
Here's how to get started:
-
Create a repository from our Github Template
Go and create a repository using our Github Template and follow the prompts to create your own copy.
-
Clone the repository to your local machine
Once GitHub creates your repository, you'll need to download it to your computer. Copy the repository URL from GitHub and run:
git clone https://github.com/<your-username>/<repo-name>.git[Image placeholder: Git clone command in terminal]
-
Navigate into your project folder
cd <repo-name> -
Install the project dependencies
This downloads all the JavaScript packages your project needs:
npm install[Image placeholder: npm install output showing package installation]
-
Start the development server
npm run dev
Your React application should now be running locally. Open your browser and go to http://localhost:5173/ to see it in action.
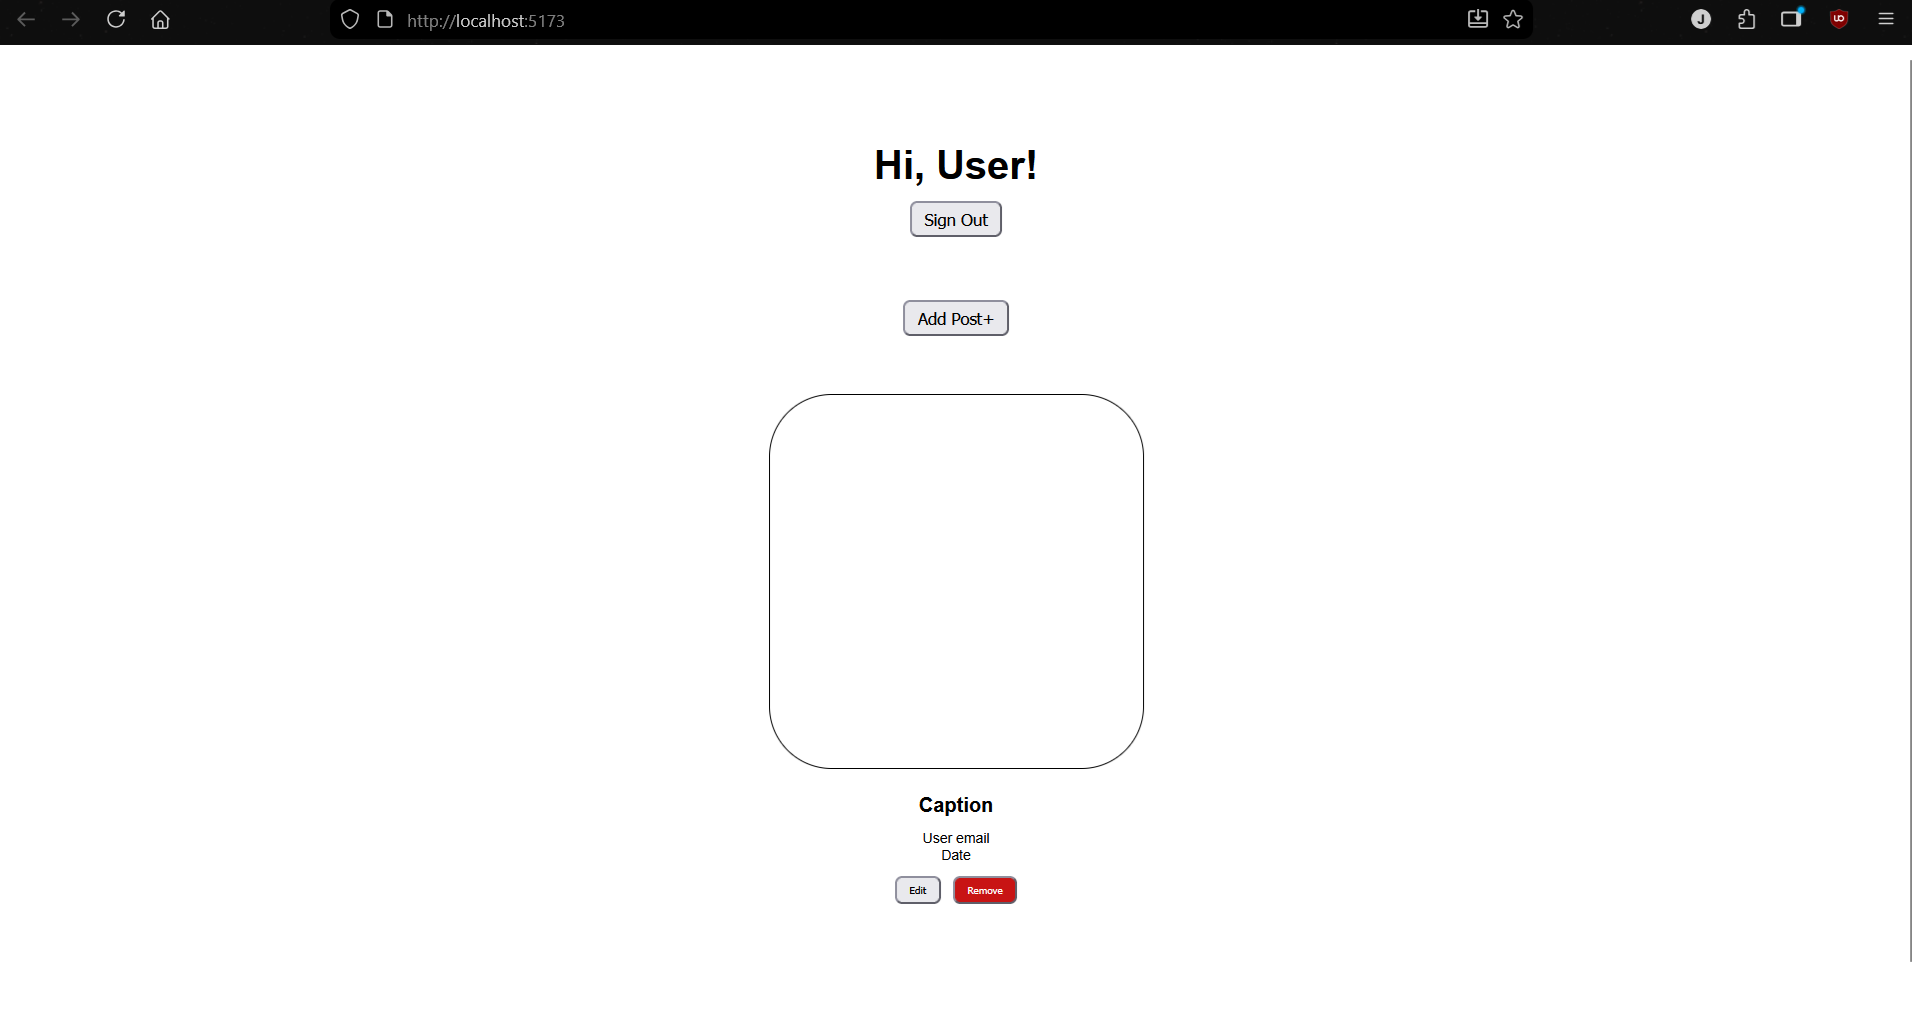
The starter application includes a very basic layout with components for user authentication and posts. Right now, these components are completely static and does not do anything. In the next sections, we'll connect them to real AWS services to make them functional.