Adding Authentication
Estimated time to read: 4 minutes
Let's add user authentication to your application. This is where Amplify Auth comes in, which handles all the complex security stuff so you don't have to.
Under the hood, it uses AWS Cognito, a user identity and access management service. It handles user registration, login, password resets, email verification, and even multi-factor authentication.
Cognito consists of two main components:
- User Pools - Store user information and handle authentication
- Identity Pools - Provide temporary AWS credentials for authenticated users
Amplify sets up both of these for you automatically.
Defining Your Authentication Resource
First, let's create the authentication configuration. In your amplify folder, create a new directory for auth resources:
mkdir auth
cd auth
Inside, create a file called resource.ts:
// amplify/auth/resource.ts

import { defineAuth } from '@aws-amplify/backend';

export const auth = defineAuth({
  loginWith: {
    email: true,
  }
});
This configuration tells Cognito to use email addresses as usernames. Users will register and log in with their email address and a password. Cognito will automatically handle email verification to ensure users own the email addresses they register with.
Customizing the verification email (optional):
If you want to customize the verification email that users receive, you can expand the configuration:
// amplify/auth/resource.ts

import { defineAuth } from '@aws-amplify/backend';

export const auth = defineAuth({
  loginWith: {
    email: {
      verificationEmailStyle: "CODE",
      verificationEmailSubject: "Welcome to Our Workshop App",
      verificationEmailBody: (createCode) =>
        `Thanks for signing up! Use this code to verify your account: ${createCode()}`,
    },
  }
});
Registering Auth with Your Backend
Now we need to tell Amplify about our authentication resource. Open backend.ts and update it:
// amplify/backend.ts

import { defineBackend } from '@aws-amplify/backend';
import { auth } from './auth/resource';

defineBackend({
  auth,
});
This registers your authentication configuration with Amplify's backend system. When you deploy, Amplify will create all the necessary Cognito resources in your AWS account.
Deploying Your Authentication Backend
Time to deploy your authentication system to AWS. Run this command from your project root:
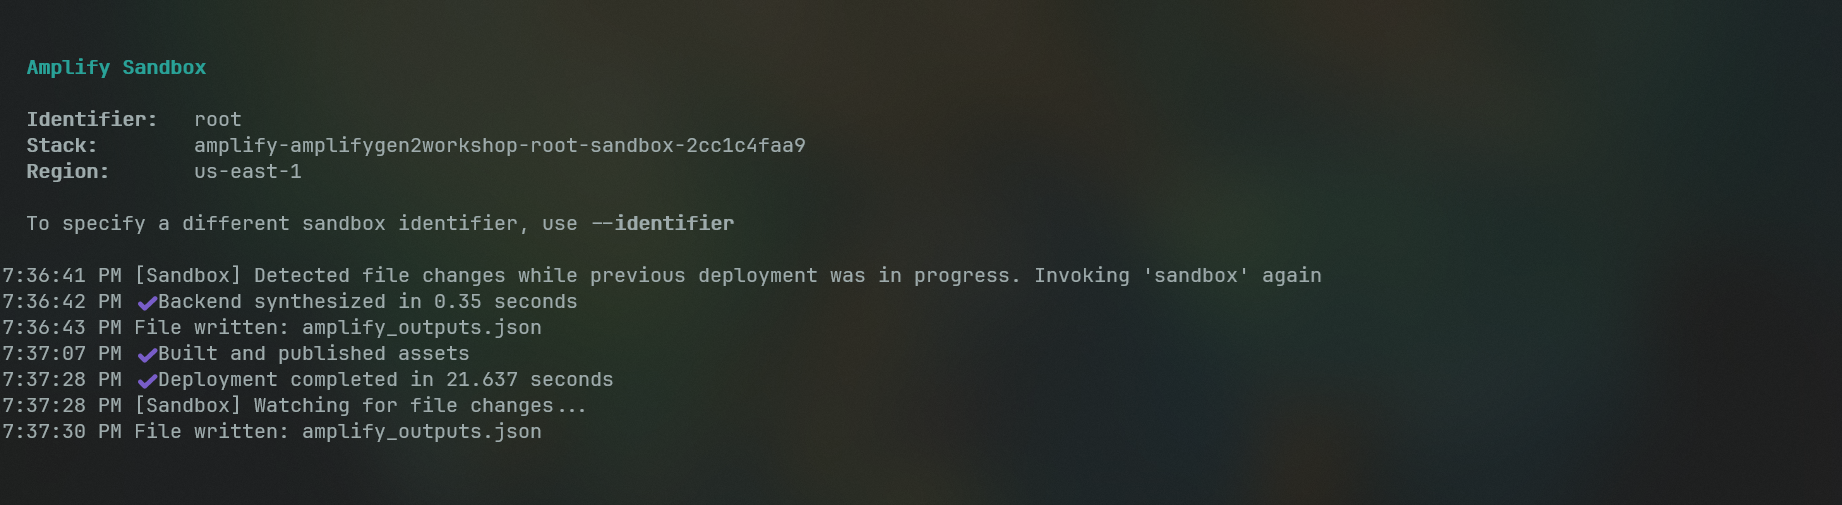
npx ampx sandbox
When you run this command, several things happen:
-
Amplify reads your backend definitions - It scans your
amplify/folder and understands what resources you want to create -
Creates a cloud sandbox - This is an isolated AWS environment for development and testing. It's separate from production, so you can experiment safely
-
Provisions AWS resources - Amplify creates a Cognito User Pool, Identity Pool, and all the necessary IAM roles and policies
-
Generates configuration - Once everything is deployed, Amplify creates
amplify_outputs.jsonwith all the connection details your frontend needs
The deployment usually takes a few minutes. You'll see progress updates in your terminal, and when it's complete, you'll have a fully functional authentication system running in AWS.
Connecting Your React App to Cognito
Now let's connect your frontend to the authentication backend. Open App.tsx and add these imports at the top:
// src/App.tsx
import { Amplify } from 'aws-amplify';
import outputs from '../amplify_outputs.json';

Amplify.configure(outputs);
The amplify_outputs.json file contains all the configuration details (like Cognito pool IDs and AWS region) that your app needs to connect to your backend. Amplify.configure() reads this file and sets up the connection automatically.
Your React app can now communicate with your AWS Cognito backend!
Adding the Authentication UI
Instead of building login and registration forms from scratch, we'll use Amplify's pre-built <Authenticator/> UI component. This component automatically works with your Cognito configuration and handles all the authentication flows.
First, install the UI library:
npm add @aws-amplify/ui-react
Now update your App.tsx to import the amplify UI:
// src/App.tsx

import { Authenticator } from '@aws-amplify/ui-react';
import '@aws-amplify/ui-react/styles.css';
Then wrap your app with the Authenticator component
// src/App.tsx
function App() {
  return (
    <Authenticator>
      <main>
        <User />
        <Posts />
      </main>
    </Authenticator>
  );
}
What It Does:
The <Authenticator> component is like a security gate for your app. It automatically shows login/registration forms to unauthenticated users and only displays your app content once they're logged in.
It handles:
- User registration with email verification
- User login
- Password reset flows
- Form validation and error handling
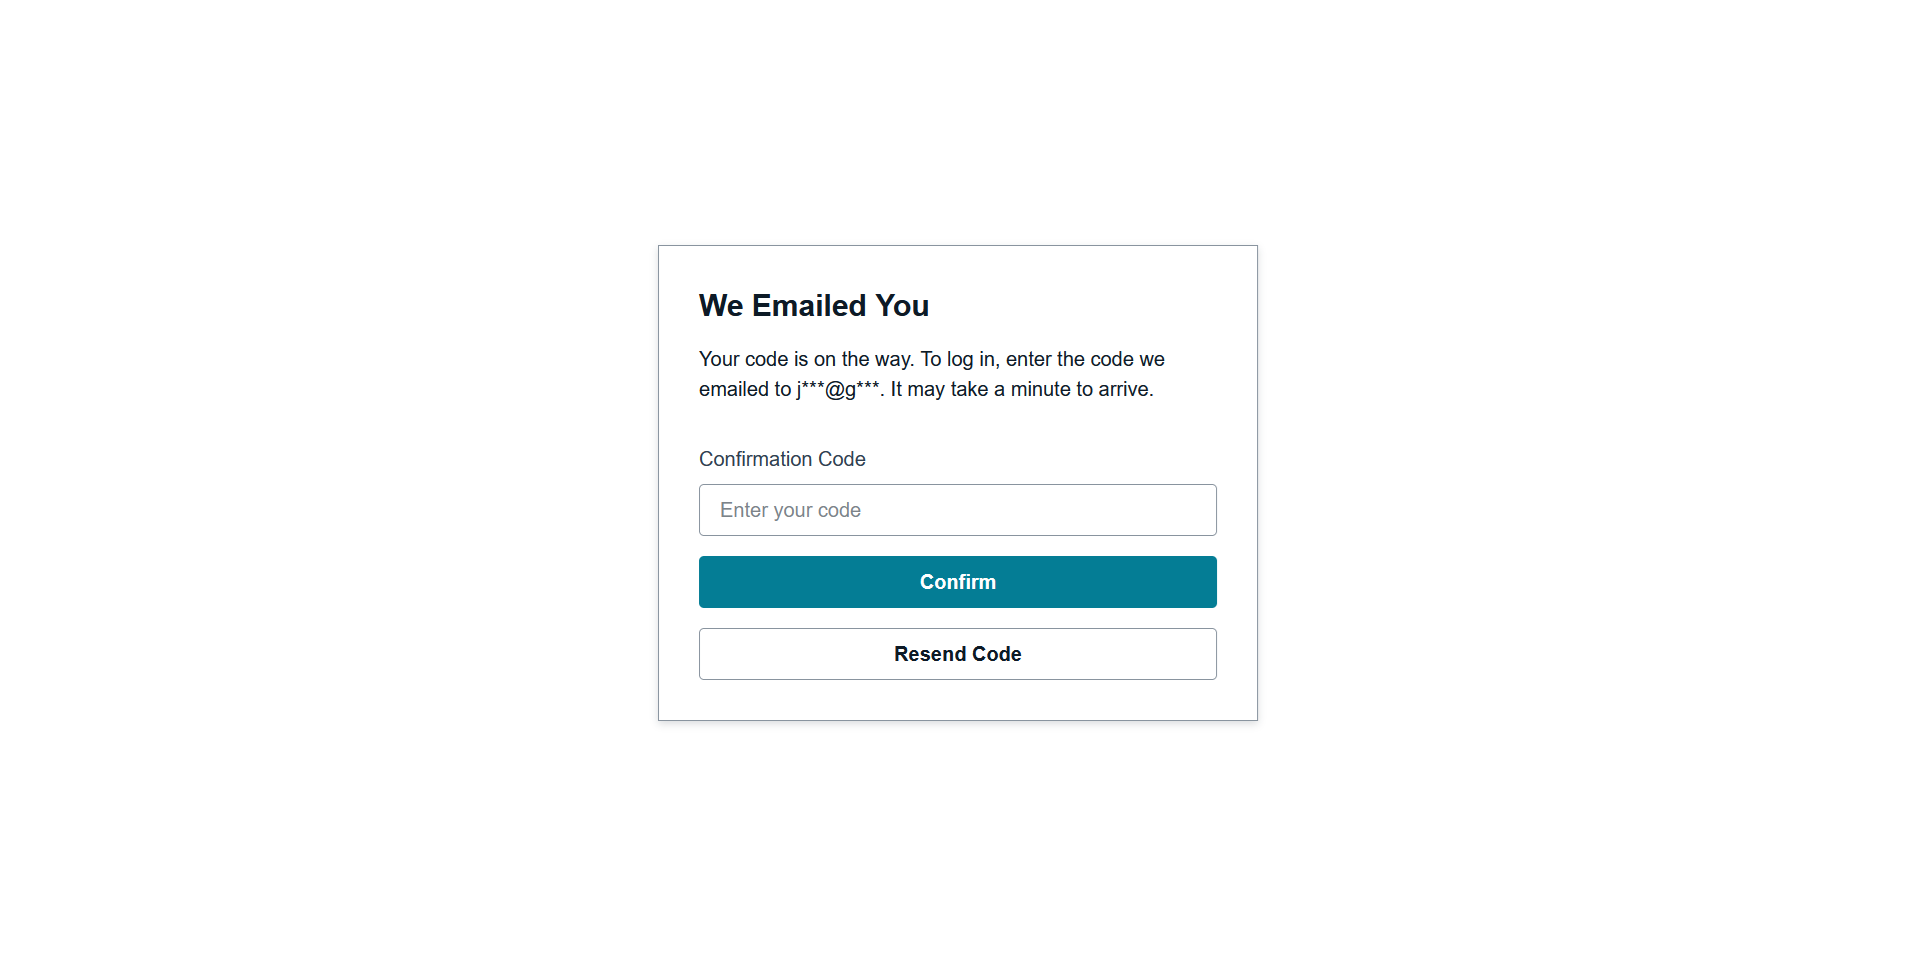
Save your changes and check your app. You should now see a sign-in form and a sign-up form:
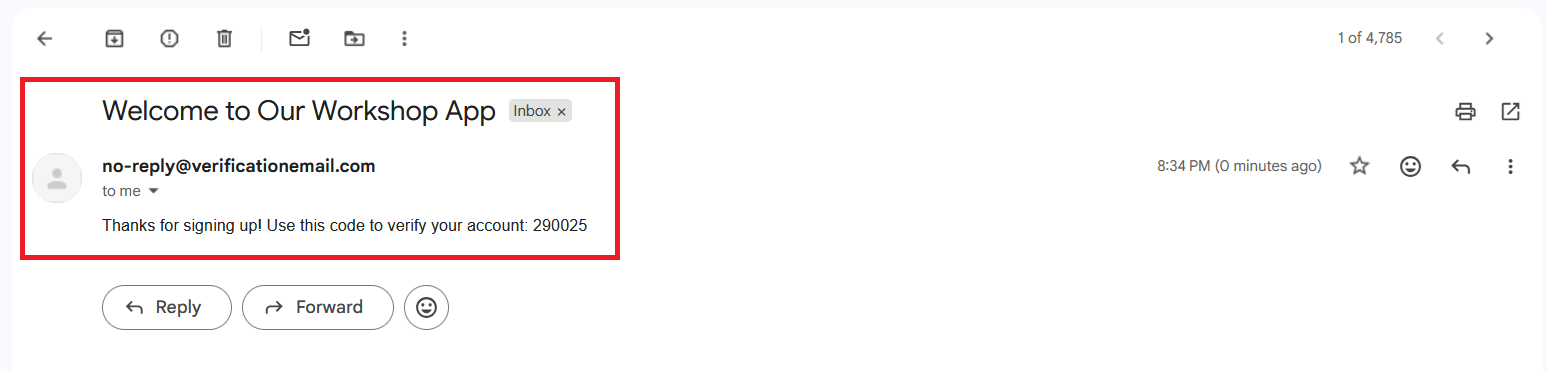
If you had set up a customized email earlier, it would now show up in your email inbox during account creation:
Adding Sign-Out Functionality
Users can sign in, but they also need a way to sign out. Let's add that to your User component.
Open User.tsx and import the authentication hook:
// src/components/User.tsx

import { useAuthenticator } from "@aws-amplify/ui-react";
Now use the hook to access user information and the sign-out function:
// src/components/User.tsx

export default function User() {
  const { user, signOut } = useAuthenticator();
  const email = user?.signInDetails?.loginId;
signOut function to the button:
// src/components/User.tsx

  return (
    <div className="user-container">
      <h1>Welcome, {email}!</h1>
      <button onClick={signOut}>Sign Out</button>
    </div>
  );
The useAuthenticator hook gives you access to the current user's information and authentication functions. The user object contains details about the logged-in user, and signOut is a function that logs them out and returns them to the login screen.
You now have a fully functional authentication system powered by AWS Cognito!
Users can register, verify their email, log in, and log out. All the security, scaling, and infrastructure is handled by AWS, so you can focus on building your app's features.
In the next section, we'll add a database and API so authenticated users can create and share content.